

I might spend some indoor time in the sewing room but on the whole, it is just too nice outside to stay indoors! However I did get started this past week on my summer blazer jacket which I mentioned in this post.
I had said I would do a step-by-step series of posts on how I make a jacket. You know what I have discovered? It is not easy to remember to document every step! I would be sewing along and realize I did not take pictures of something or other. People who do in-depth tutorials should be given a round of applause - it is a lot of work. In any event, once I got started I decided to show a lot of the techniques I use and then I will link to my previous posts for some additional info on the various steps.
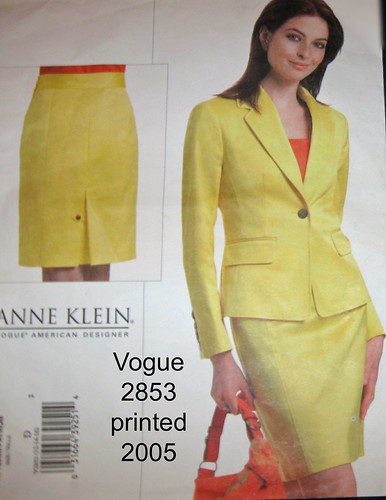
So here we go: the pattern I am using is Vogue 2853, which is an almost 10 year old pattern that is a traditional blazer with a few twists. The front has some dart seaming that ends at the welt pocket so that is a bit tricky but gives the jacket a nice shape. I have made this twice before, the last time in grey wool plaid.
Here is a sneak peek at the jacket. I was ambivalent about this fabric, I had wanted a seersucker which was more blue and this one is grey, but now that it is taking shape I really like the color. It will be a great wardrobe basic.
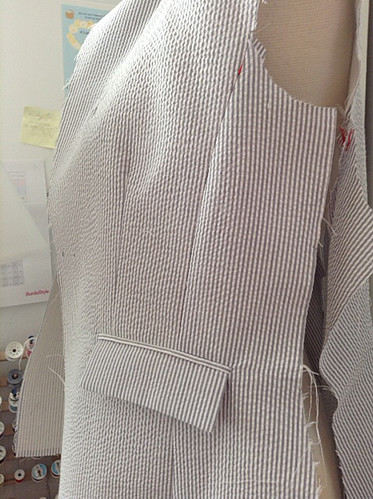
Here is how I start on a jacket (or really any sewing project).
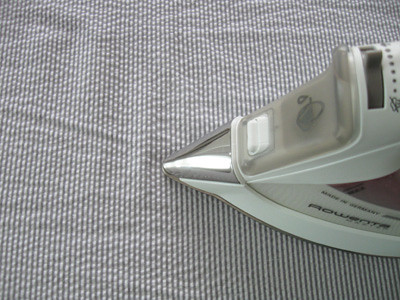
1. Iron the fabric. I pre-shrink most fabrics, cottons, rayon, even poly blends. For wools I use the steam in the dryer treatment most times. For cottons I wash and tumble dry and then softly fold with hopefully minimal creasing. I don't iron then, instead I iron right before I put the fabric on the cutting table.
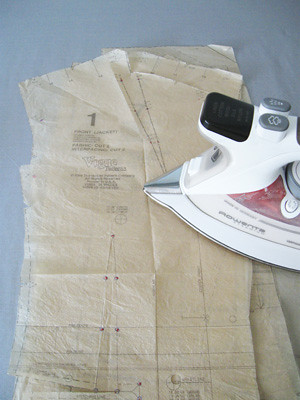
2. Iron the pattern pieces. For some reason I find this very enjoyable. Maybe because paper presses so well. It is important to get all those little creases out - a few 1/8' wrinkles and crinkles and you have lost some important width and then your pieces won't fit together as they should. Dry iron set on medium.
3. Lay out and pin pattern pieces. Oh yeah, I am a mad pinner! I have never used pattern weights, I just don't feel like you would have the proper control with them, plus I think it is important to leave the paper pieces on the fabric until you are ready to sew that piece. That lets you do the markings at a separate time - you know I am a fanatic pattern marker. It may not be visible in this photo but if the amount of yardage permits I like to have all the pattern pieces go in the same direction. It doesn't matter for this fabric but for a lot of fabrics there can be anything from a very serious nap (velvet, corduroy) to a slight difference in sheen or color (wools, some knits) so it is a good habit to get into.
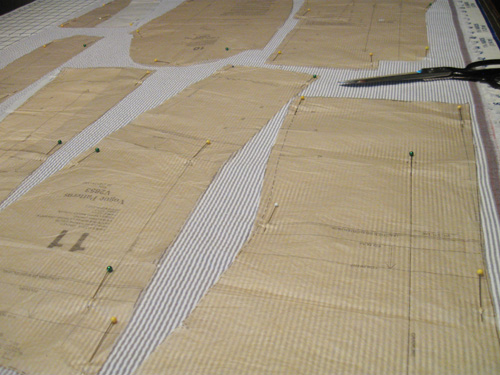
4. Measure to make sure you are on grain. Before you put down a pattern piece, make sure your fabric is folded on grain and the selvedges are lined up. This is SO difficult on many fabrics for a lot of reasons. Some fabrics distort in the wash, some are wrapped on the bolt very crookedly develop a twist that is hard to remove. And another pet peeve - bad cutting at the store. I am probably considered the crazy person at the fabric superstore who trys to get them to refold the fabric before cutting. That is a losing battle that I have given up on, so now I just point out the crookedness of the end and try to make sure they cut the right amount, based on the shortest part of the yardage. Are you with me there? There is a store in San Francisco, Satin Moon Fabrics, where they would actually pull a thread from selvedge to selvedge and cut along that line. It took a few minutes but it was mesmerizing to watch. And of course the cut was perfect!
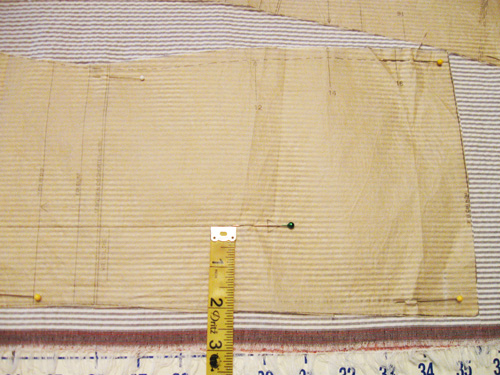
Seersucker is tiny stripes so being on the straight of grain is even more important. Since you can see through the paper pattern pieces you can lay the grain line along a stripe. But I always measure to the edge to make sure. For every pattern piece. Each one !
Ok, that's all for today. Next up, pattern marking and interfacings,
Happy weekend, Beth
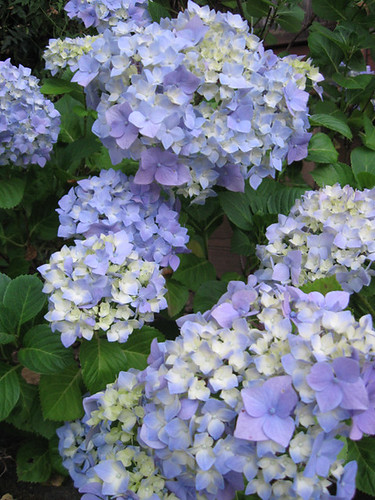
Today's SunnyGal garden photo - oh, the hydrangeas are so nice this time of year. And every one a different color. People ask me how I get the colors to vary - no idea! they are just as they were when I put them in the ground. I think all that advice about fertilizer to change the color is a bit excessive, let 'em do what they want :)





0 Yorumlar